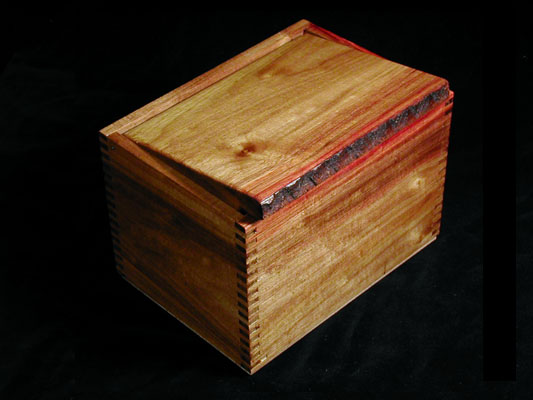
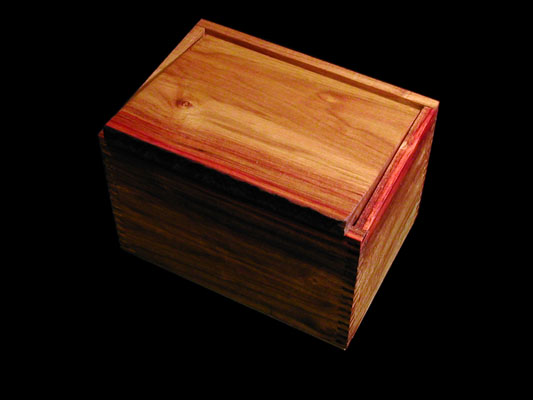
In August of 2004, I made this box for my grandmother's 90th birthday.
It started with a nice board of canary wood that I got on sale at Rockler. Since the board was about an inch thick and I wanted thinner sides, I needed to resaw the board. Good thing I build a frame saw, eh?

I cut most of the way through the board with the table saw (to save time), and finished the cut with my frame saw:
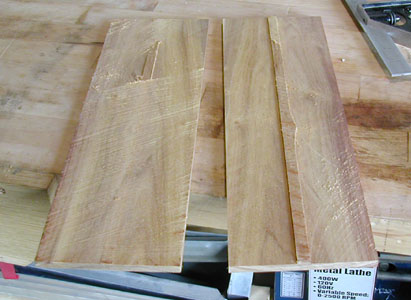
I planed and scraped the cut surfaces flat, then cut the sides of the box to size:

I used the table saw to cut the finger joints. Then, I cut and shaped the top. I decided to leave the nice semi-natural edge on the front of the top - it has a really nice texture to it.
The top is hinged with two nails with their heads cut off - there are small holes for the nail "axles" in the sides.
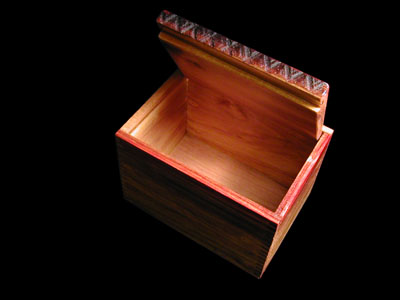
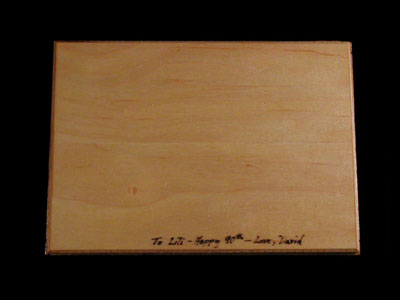
The bottom is just a piece of plywood glued on. I signed this box since it was a gift:
Here it is:
As a side note - this was the first time I tried to take nice pictures of a project of mine in my house. I think they came out pretty well, considering I invested no money in any extra lighting, etc. Here's my setup:
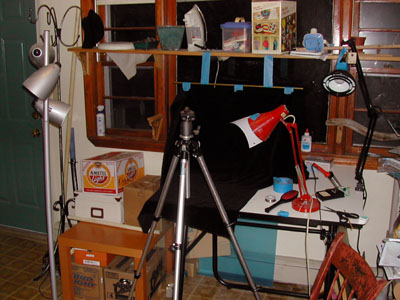
Some things to note:
- I used a piece of nice, bright white computer paper to manually set the white balance of my digital camera. This ensures the colors are consistent from image to image.
- I had the black velvet laying around. Black is nice 'cause you can slightly underexpose the picture in the camera and the background comes out almost completely black. It's easily photoshopped into something else (if you like).
- It helped to have a baffle on the lamps to keep stray light off the background material.
- I think it's pretty important to have two evenly matched lights. I noticed pretty quickly when one was much closer or farther from the box, and it didn't look too nice.
- I didn't bother turning off other lights in the house.