I just looked back in my email, and it was April of 2011 when I got a call from a buddy who does landscape work — Mike Foster, who I'd highly recommend if you're looking for someone in Seattle to do that sort of thing — he had just taken down a small cherry tree, and did I want it to mill into lumber? How could I say no?
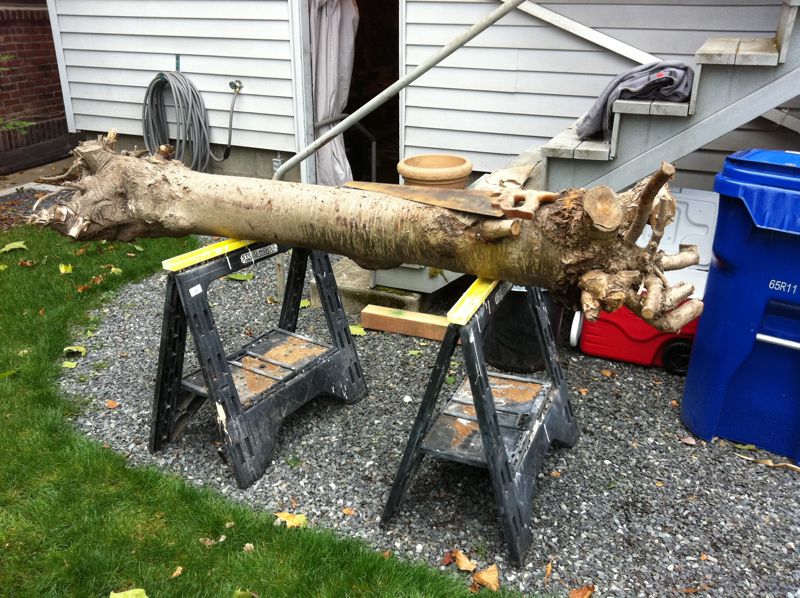
The trunk was maybe 9-10" in diameter, with bigger knobby bits at each end, and about 5 feet long. First thing I did was saw off each end. I think even then I envisioned milling a relatively thick plank from either side of the center and opening them up like a book (hence the term "bookmatched boards") to make a table of some sort. So off with the knobby bits.
And on to sawing the planks!
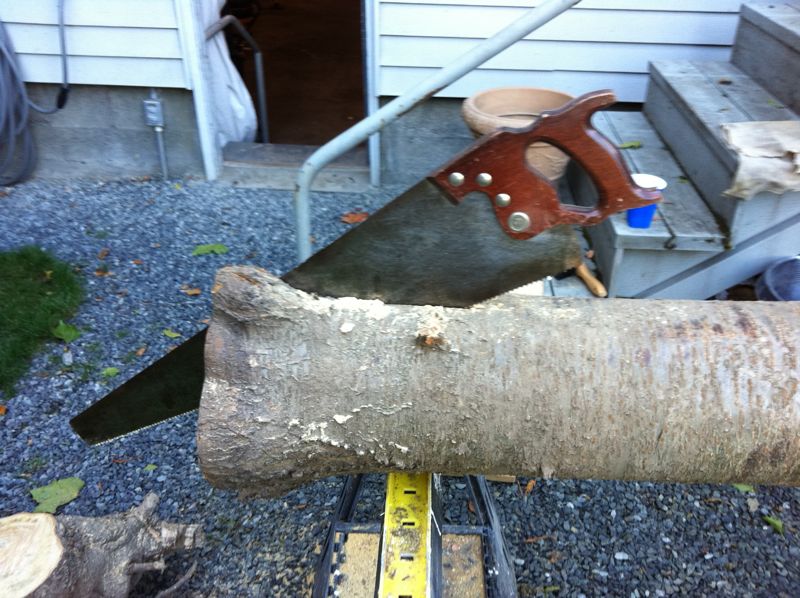
That represents about an hour of concerted hand saw work, and it wasn't getting easier. The rip saw I have has far too many teeth-per-inch for this kind of rough milling, and I didn't have 12-16 more hours of sawing in me. I did what anyone in 2011 would do, and borrowed a friend's chainsaw. That did the trick!
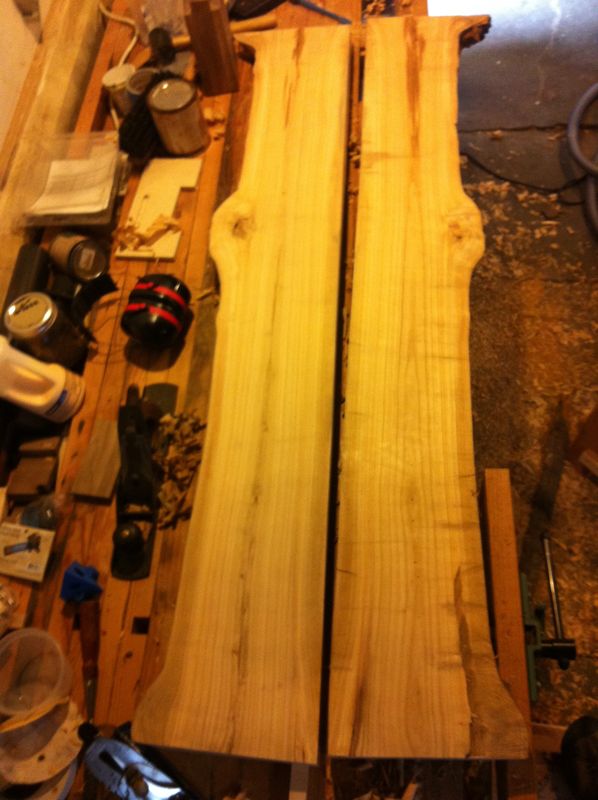
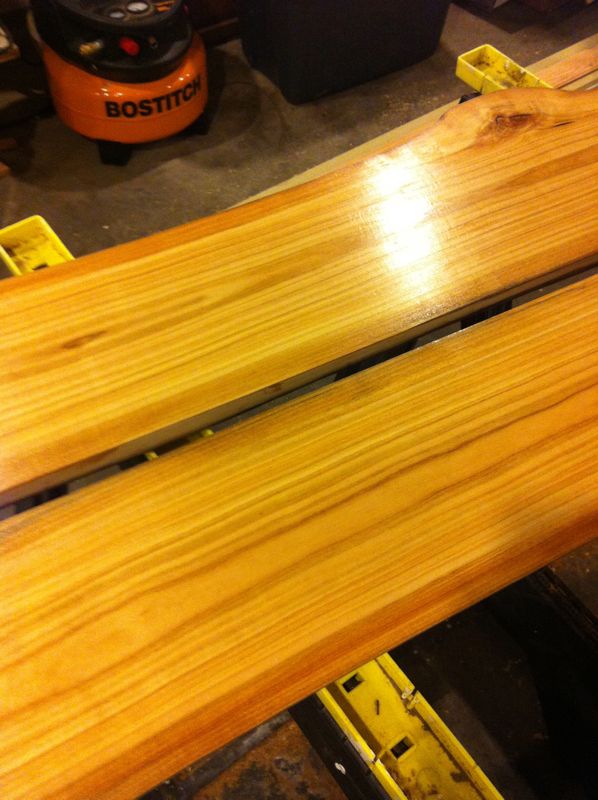
After painting the ends of the board and letting them dry in the basement for quite a few months, I started in on smoothing the rough-sawn planks into more refined boards.
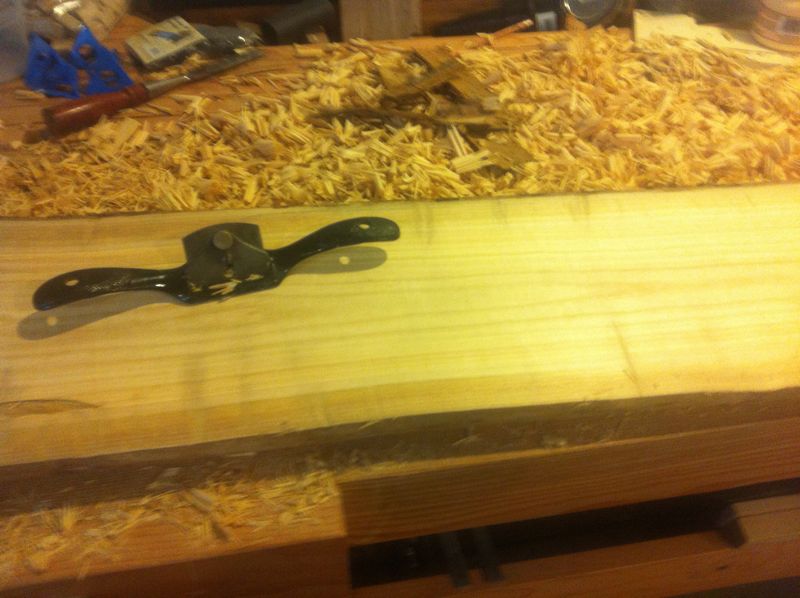
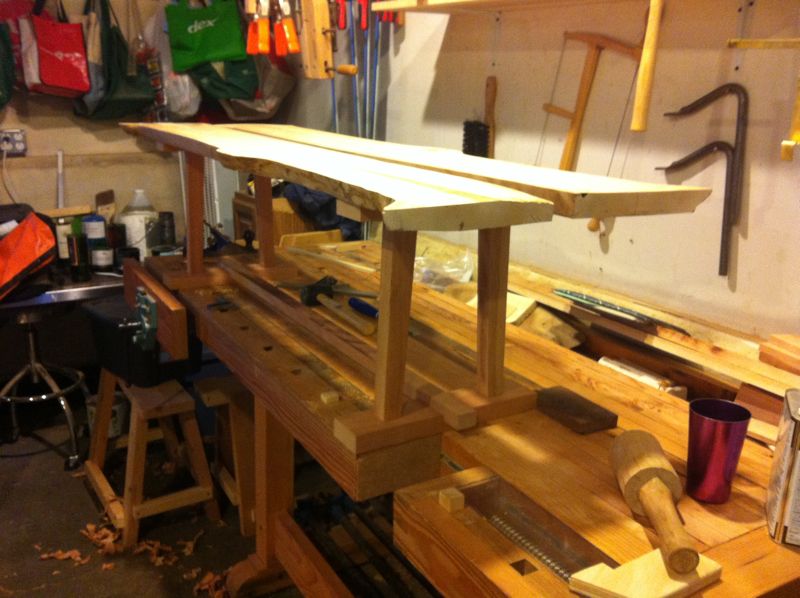
Once again, I reached a point of frustration with my hand-tools. I'm sure I could have gotten these boards totally flat with hand planes, but I was pretty happy to throw them in the car and run them through a friend's power planer, which made short work of milling.
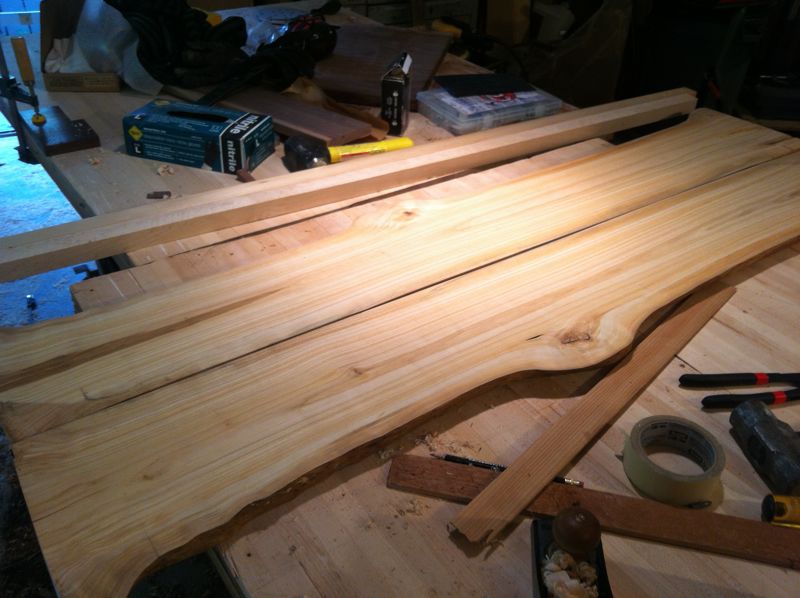
You can see in the picture above the smaller boards we screwed to the bottom of the cherry planks to provide a flat reference for the planer. Worked like a charm.
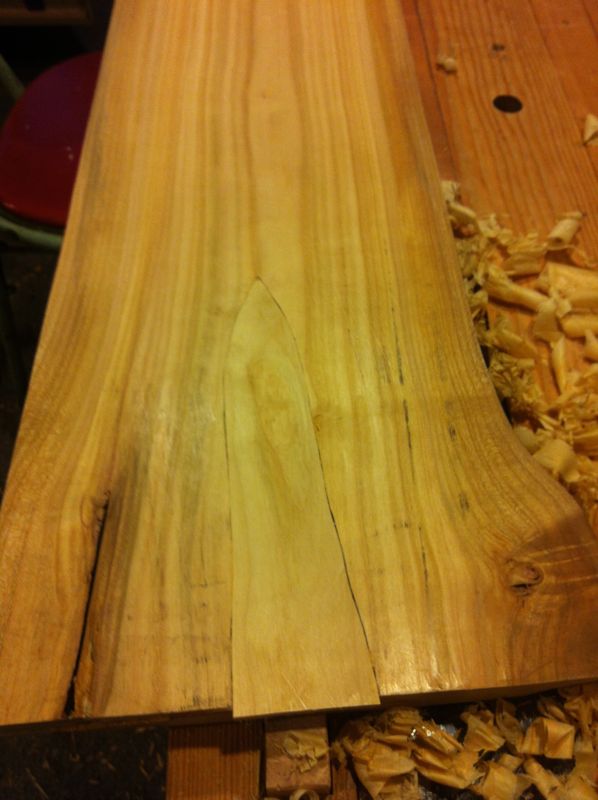
From an offcut, I made a patch for a section that had a saw cut running through it. I cut the patch first, then traced it onto the board, used a chisel to define the edges, and hogged out the waste with a router plane. Though it doesn't blend in very well in this photo, it does more so in real life, especially after both pieces have oxidized a bit more and with finish applied.
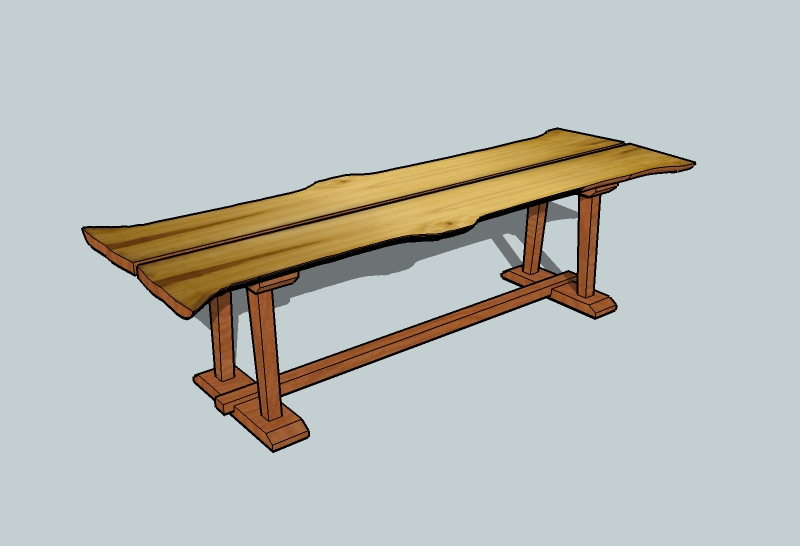
With the table top more or less prepped, I set to designing a base. Sketchup proved the perfect tool for noodling on legs/bases. Here's what I came up with.
A while back, I picked up some lumber on Craigslist from a guy who was moving. It wasn't a lot of lumber, nor was it a lot of money, but it was good looking stuff, and a reasonable deal. Part of that haul was a nice piece of 8/4 cherry, which I cut up into parts for the base. Here are some legs-in-progress.
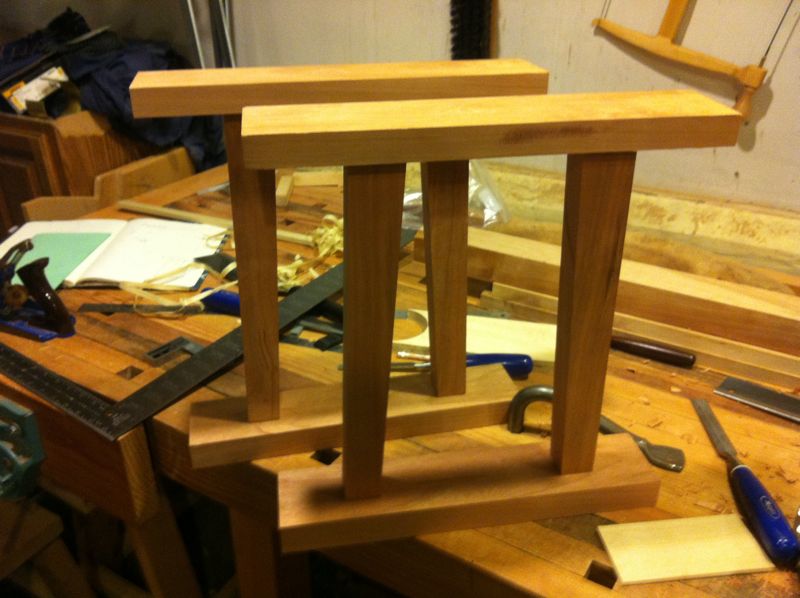
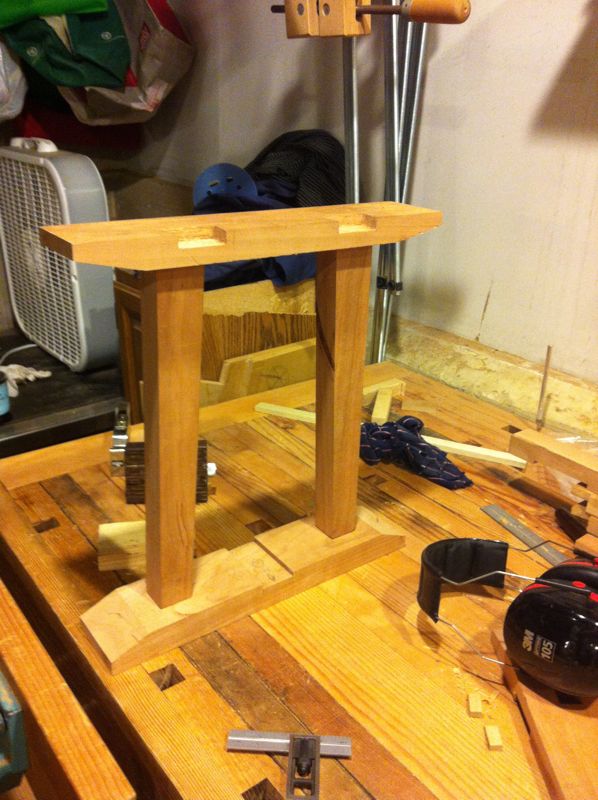
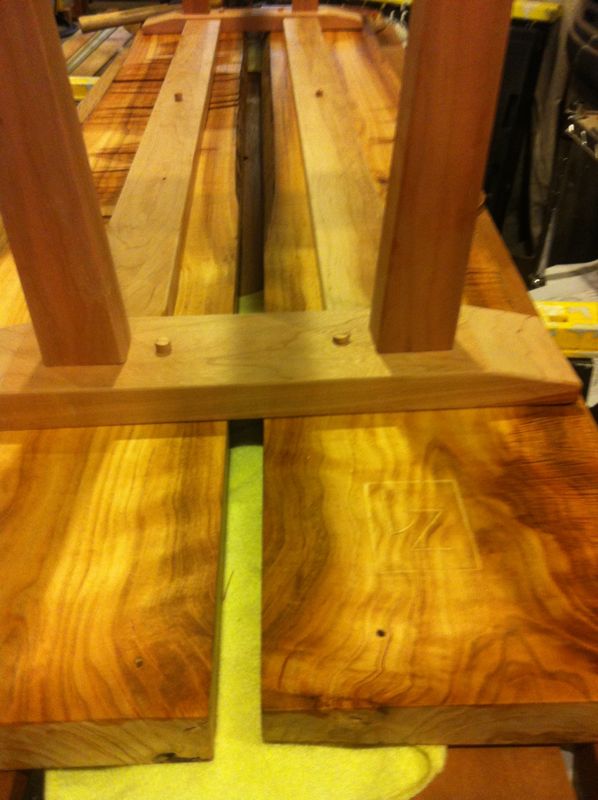
And a test fit, to make sure things were headed in a good direction.
You can see the half-lap joint on the bottom rail here, and the dovetails cut in the top one.
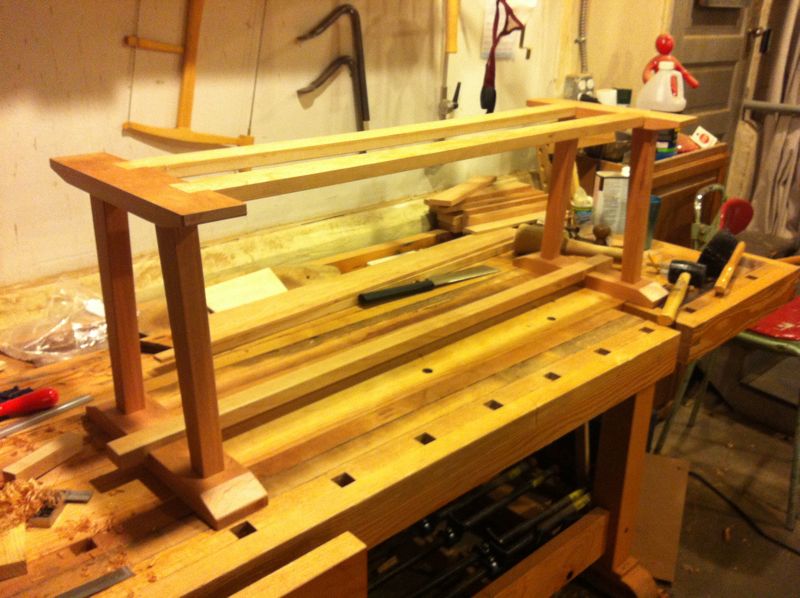
And here's the base all put together, with stretchers between the leg assemblies.
I started the finishing process with the top separate from the base. This was the first time I'd used Tried and True Original Wood Finish, which is a combination of linseed oil and beeswax. Jury's still out on durability, but I do like the way it looks!
And then I attached the top pieces with screws, and filled the screw holes with plugs (later to be sawn flush).
A few more coats of finish later, and... ta da!
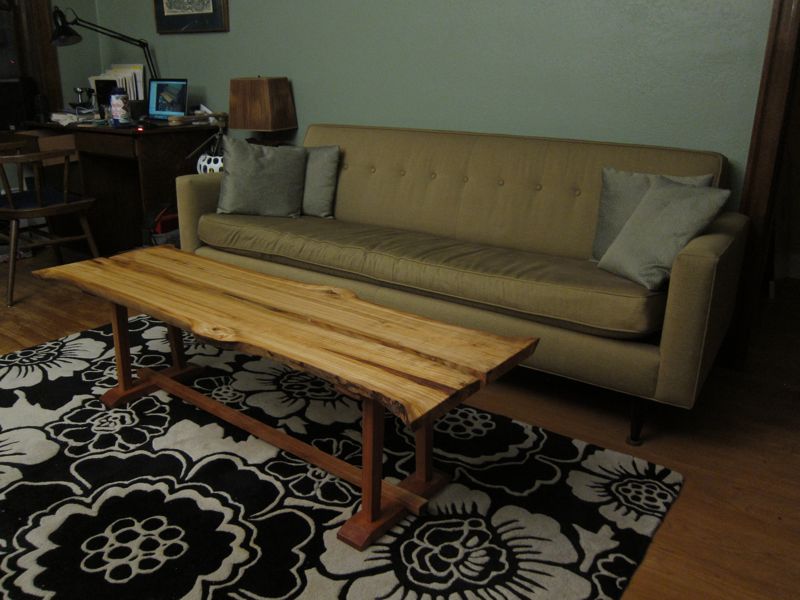
Definitely happy with how this one came out! And also maybe a little sad to displace one of my first woodworking projects. But it'll find a good home, somewhere, somehow.