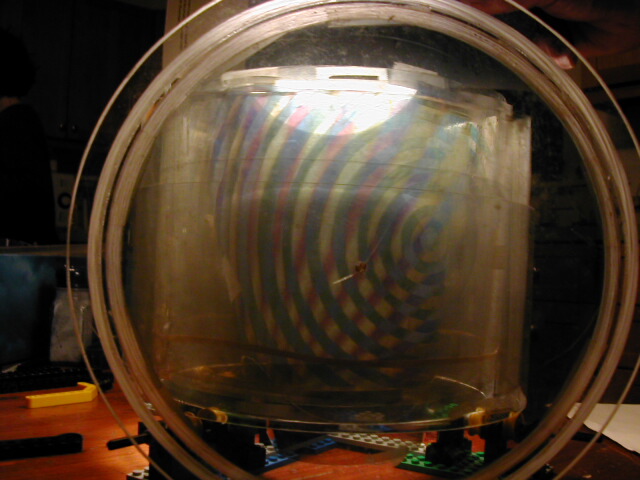
My Dad, in the sixties, had constructed (from an erector set, cardboard box, etc.) a device that used polarized light and moving strips of cellophane (which is birefringent) to project colored images on a screen. He asked Matt & I to help him recreate it, making it a little more professional looking in the process.
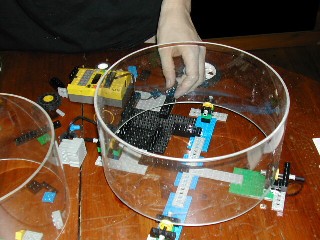
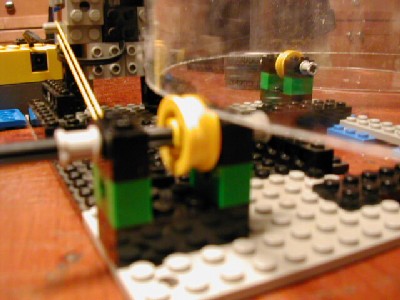
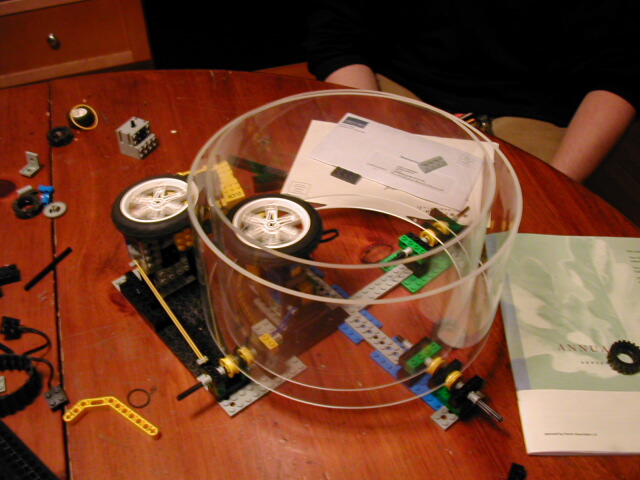
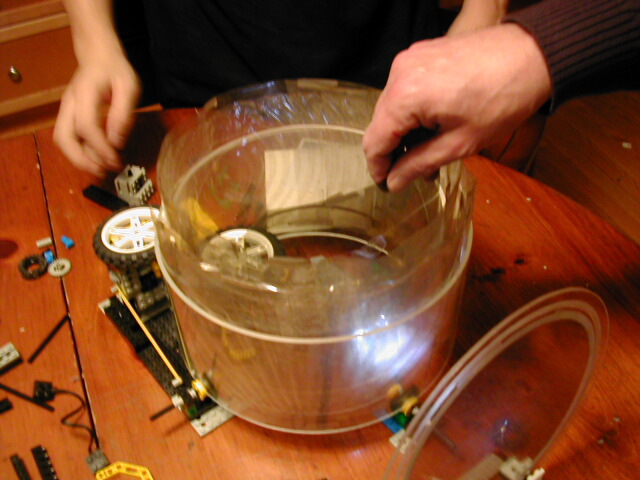
We did some preliminary experiments with the original cellophane strips and polarizing filters mounted to two concentric acrylic cylinders. My brother put together an apparatus to rotate the cylinders using Lego Mindstorms. Check it out:
[ Updated 12/13/02 ] - Some progress has been made on the light machine. I found some new cellophane at Pearl Paint in Cambridge, and have ordered some goodies from American Science & Surplus. They've got lots of relatively inexpensive motors, bearings & other junk that might prove useful. I've never ordered from there before, so I'll let you know how it goes.
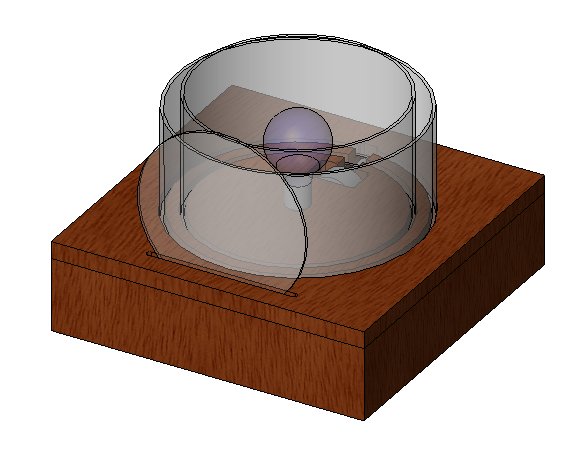
[ Updated 3/31/05 ] - Here's a rendering of my current vision of the light
machine:
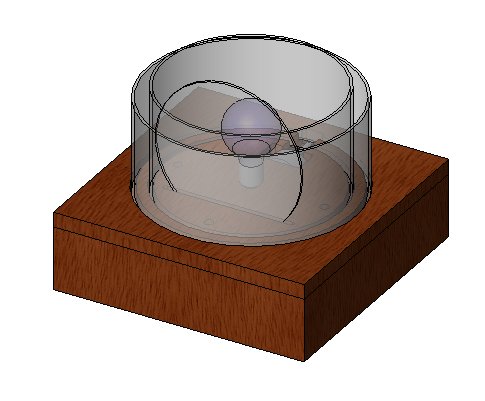
[ Updated 4/20/05 ] - I rethought the arrangement of cylinders and disks in
the light machine. The new design looks like this:
I did some cellophane experiments. The first roll I bought from Pearl was
thin and appeared very clear to the eye. However, when I attempted to combine
two pieces (to make the patterns), I couldn't find a way to attach them. Dad
had used an iron on the original, but when I tried with the new cellophane, it
was either too hot or too cool and either melted the material or didn't join
the pieces.
On a whim, I went to Artist & Craftsman
Supply (across the street from Pearl). Generally, I don't like them as much,
but Pearl was closed for renovations. Lo and behold, their cellophane is much
easier to "weld." One quick pass with an iron set on "Synthetic" and you're
done. However, their material is a little thicker and a tad more brittle than
Pearl's, and appears to be a little cloudier. Shouldn't be a problem for the
light machine.
So, not too much left to do:
[ Updated 9/17/07 ] - Finally, finished! Only 5 years after we started!
Since the last update, which was two and a half years ago, a fair amount
has happened on the light machine front.
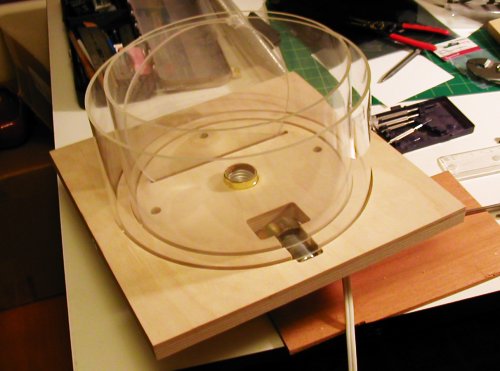
I used the large CNC router at my old job to cut the pieces for the base out
of 1" thick baltic birch plywood.
Inside the tracks for the acrylic cylinders are ball bearings, which make
for smooth rotation.
Here you can see the beginnings of the guts of the machine: two motors and
a socket for the light bulb.
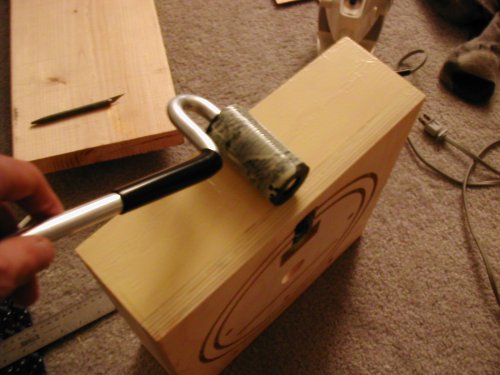
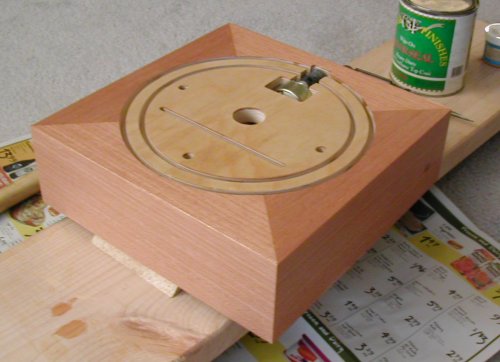
I decided the plywood exterior needed some prettying up. I'd read
online about
veneering, and
decided to take a swing at it. I spread wood glue on both the plywood box and
veneer, let it dry, then used an iron to bond the veneer to the box.
Came out pretty well, I think!
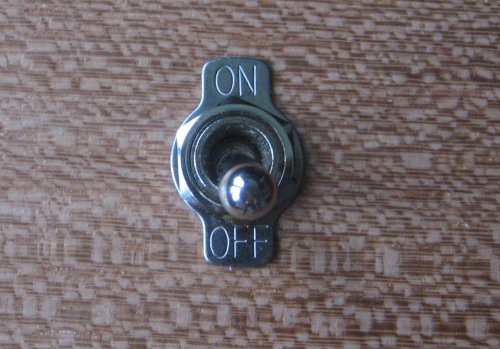
I cut a small hole in one side for an on/off switch
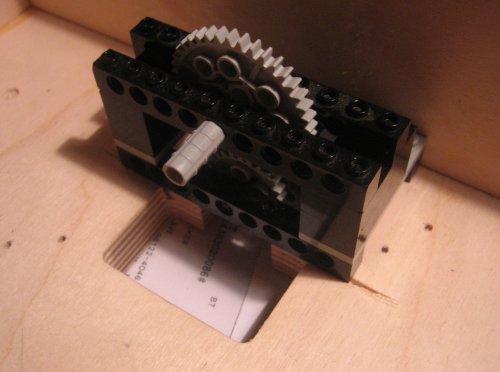
At some point, it became clear that things would look best if the cylinders
rotated in opposite directions. Rather than trying to find gears at
McMaster or somewhere else online,
I decided to use Legos, and built a gearbox inside the machine.
Here's what it looks like from the top:
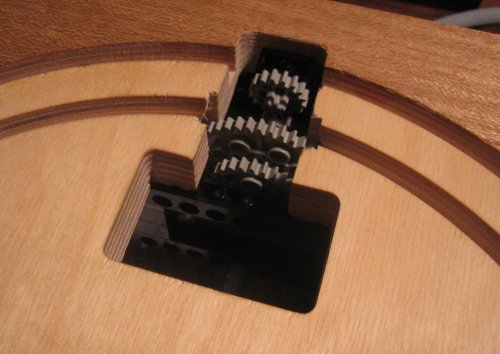
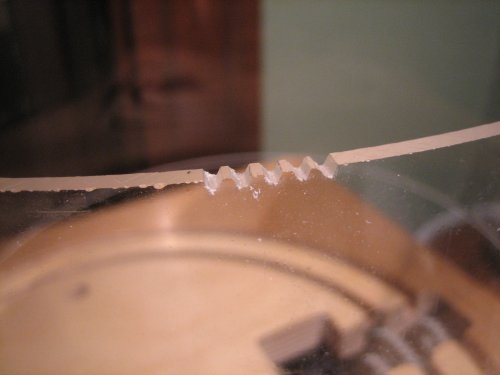
So, I now needed a way to transmit motion from the gears to the cylinders. I
began filing teeth into the cylinders with a triangular file. It took a while,
but works like a charm.
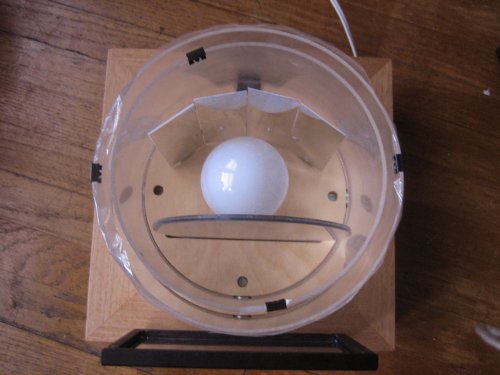
Finally, I added a couple of mirrors behind the bulb to get as much light
as possible out the front window.
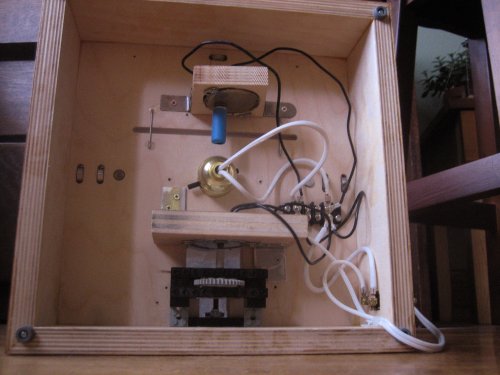
Here's the underside of the finished machine, where you can see the motor that
turns the polarizing disc (with blue heat-shrink tubing), the motor that
turns the cylinders, light bulb socket, gearbox, and junction terminals.
Here it is, in all its glory:
And you can check out a video of the machine in action! Looks even better
in a dark room, but this'll give you an idea.