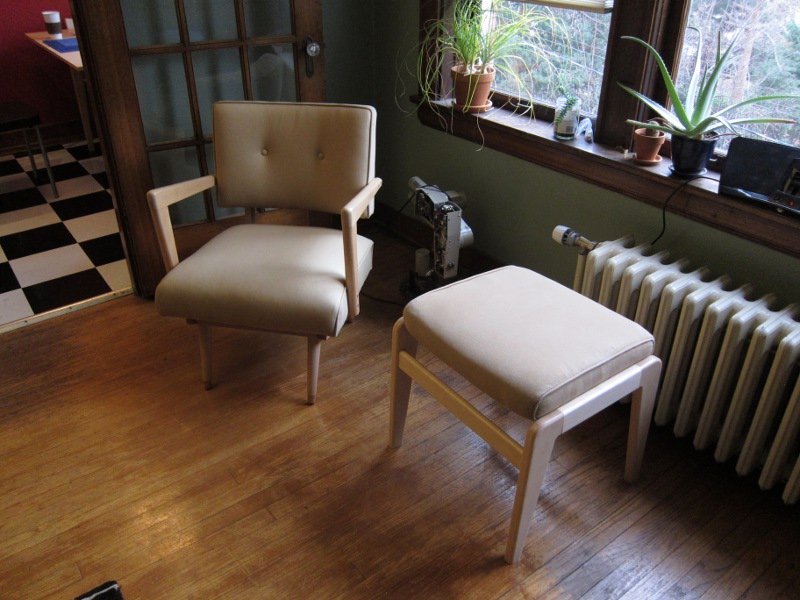
When they reupholstered the chair, I had the foresight to ask for an ottoman cushion to match, with the plan of building the base at some point.
Fast-forward another year or so, to when I finally started putting together a workshop in some very generous friends' basement, and I was ready to start refinishing the chair and building the ottoman (the chair was the easier one by far, just needing some sanding and a new coat of finish).
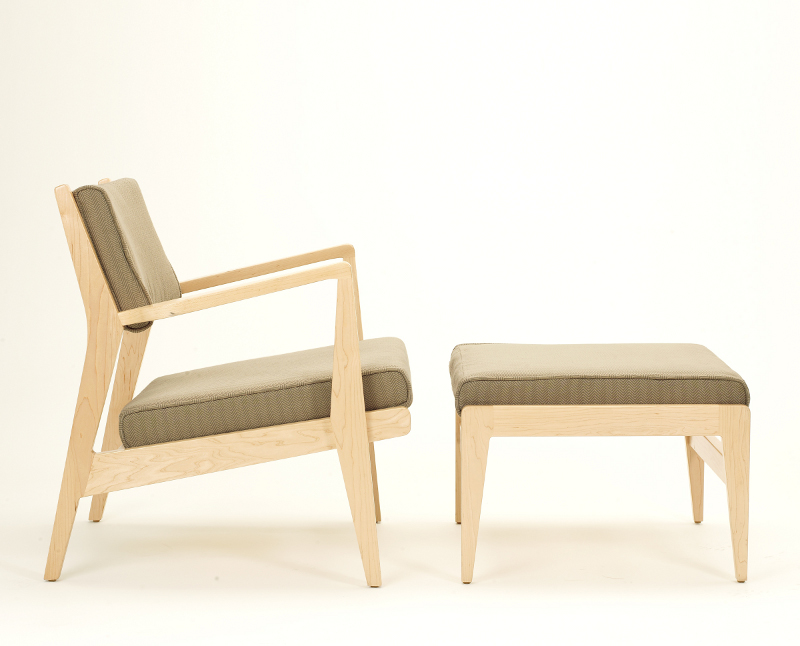
I created a design for the ottoman in CAD, based on what I could see from the catalog pictures and measurements of the cushion and existing chair.
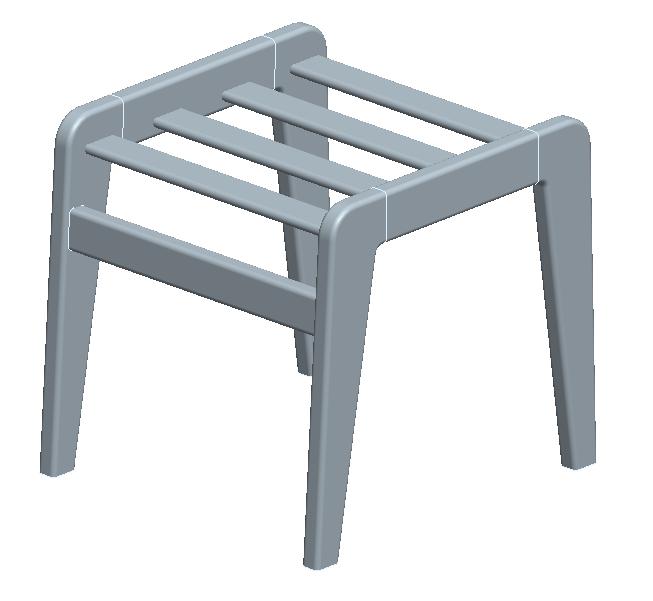
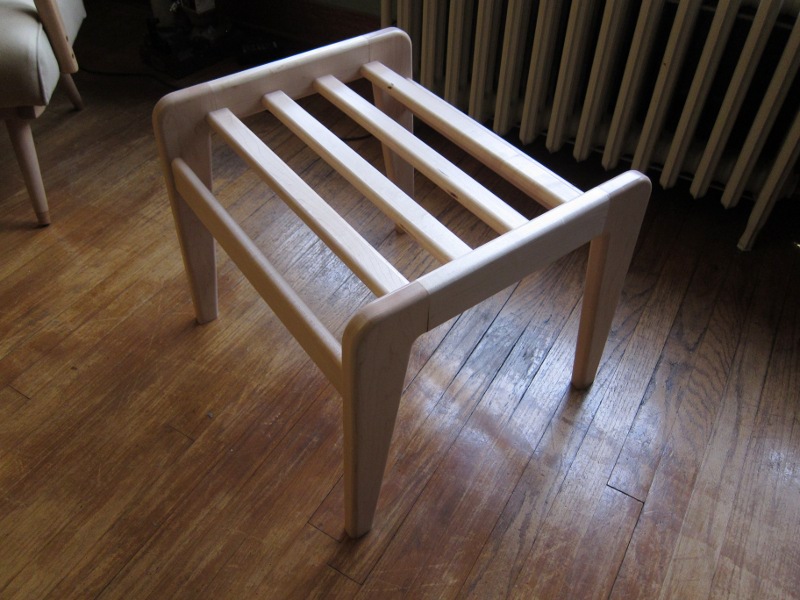
The only particularly tricky trick I used in construction was to cut out a template for the legs on the laser cutter, to be used later in the process with a template-following router bit. It's made from maple, to match the chair as well as possible. Overall, steps were: plane & cut stock to size, glue each side (two legs joined by a rail) using dowel joints, plane & cut stretchers to size, glue the whole thing together, and finally, sand and apply finish.
Lo and behold, the cushion fits, and it all looks great together in my living room!